





















2 November, 2026


Choosing the right slab size can change the look, cost and performance of a project. Large panels create a seamless surface appearance because they need fewer grout joints. Yet the largest panel is not always the best option.
For a successful project, select the slab only after checking room measurements, access routes, substrate condition and installer capability. Thickness, weight, cutting needs and pattern placement also matter. This guide compares common large format porcelain slab sizes and explains how to choose them for walls and floors.
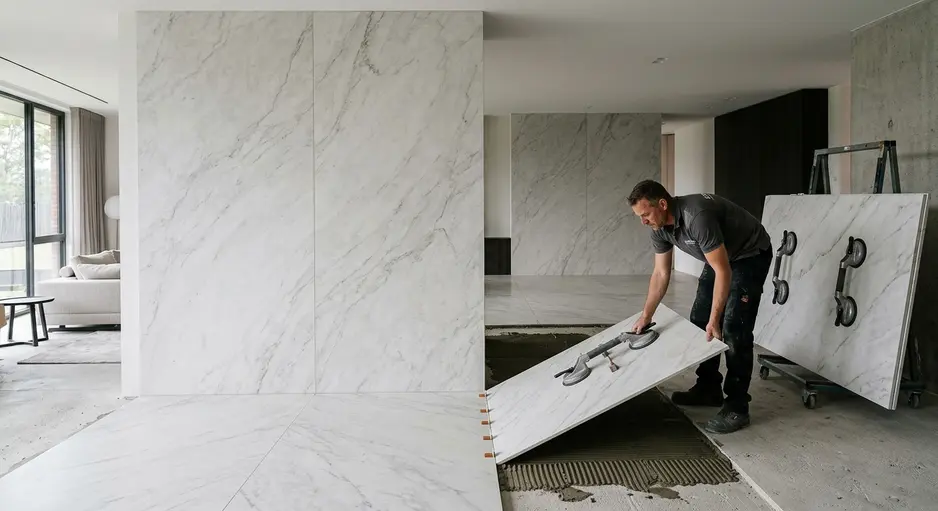
Large format usually refers to a tile with at least one long edge and a surface area much greater than that of a standard tile. Exact definitions vary by market and technical standard. Gauged porcelain panels are a more specific category. They are often very large and relatively thin.
Porcelain slabs also differ from natural stone. Porcelain is manufactured under controlled conditions, while natural stone varies in structure, porosity and strength. Installation methods should therefore match the chosen porcelain product rather than a stone installation guide.
Published large porcelain slab dimensions may be nominal. The actual panel can be slightly smaller after factory trimming or rectification. Edge damage, calibrated sizing and fabrication may further reduce the usable area.
Always review the current technical sheet before planning joints or cut-outs. Check the batch, actual dimensions, edge type and allowance required for slab edge finishing. These details are important when several panels must align across a long wall or open floor.
A very large slab may not fit through a door, lift or stairwell. It also needs more working space and specialist handling equipment. Large panels can be more vulnerable during transport and positioning, even though porcelain is durable after correct installation.
Bigger slabs also require flatter surfaces, skilled installers and precise cutting. In some rooms, a smaller module can reduce waste while still keeping joints to a minimum.
The following guide covers commonly marketed formats. Availability varies by manufacturer, collection and country, so it should not be treated as a universal product list.
Typical use: Residential walls and floors. It is easier to carry, cut and replace than a full slab, but it creates more grout joints.
Typical use: Bathrooms, kitchens and living areas. This size offers a useful balance between visual scale and practical handling.
Typical use: Feature walls and residential floors. It reduces visual breaks but may require two-person or mechanical handling.
Typical use: Living rooms and commercial floors. The large square shape suits open spaces, provided the floor is stable and very flat.
Typical use: Full-height bathroom walls, showers and feature panels. They can reduce horizontal joints where the ceiling height permits. Usable offcuts may suit niches, skirting or vanity cladding.
Typical use: Interior cladding, furniture surfaces and broad wall areas. Specialist cutting and careful access planning are usually required.
Typical use: Statement walls and expansive surfaces. The wide format supports strong vein continuity and bookmatched slab patterns. Check transport frames, lift capacity and turning space before ordering.
There is no single list of standard large format slab sizes. Compare stock availability, actual measurements and lead times for each collection.
For a bathroom about 2.4 metres high, a 1200 × 2400 mm panel may cover much of a wall with few horizontal joints. This depends on the actual dimensions, ceiling level, trimming allowance and installation layout.
Measure niches, plumbing points, internal corners and shower fittings before fabrication. Fewer joints make cleaning easier, but porcelain does not replace the waterproofing system behind it. Careful wall substrate preparation is essential. The background should be stable, plumb and flat.
Kitchen panels can form full-height splashbacks with fewer seams behind sinks and worktops. Plan socket, tap, window and appliance cut-outs before cutting starts. Small changes made on site can be difficult once a large panel has been fabricated.
Consider pattern position, stain resistance and cleaning needs. Required clearances around cooktops and other heat sources should follow the appliance and slab-system instructions.
Large porcelain wall panels work well on media walls, reception areas, lift lobbies and retail interiors. They may also suit fireplace surrounds when the complete system is approved for that use.
Depending on panel height, weight, substrate and local codes, the design may need mechanical wall fixing systems. The fixing method should be confirmed by the project designer and installer.
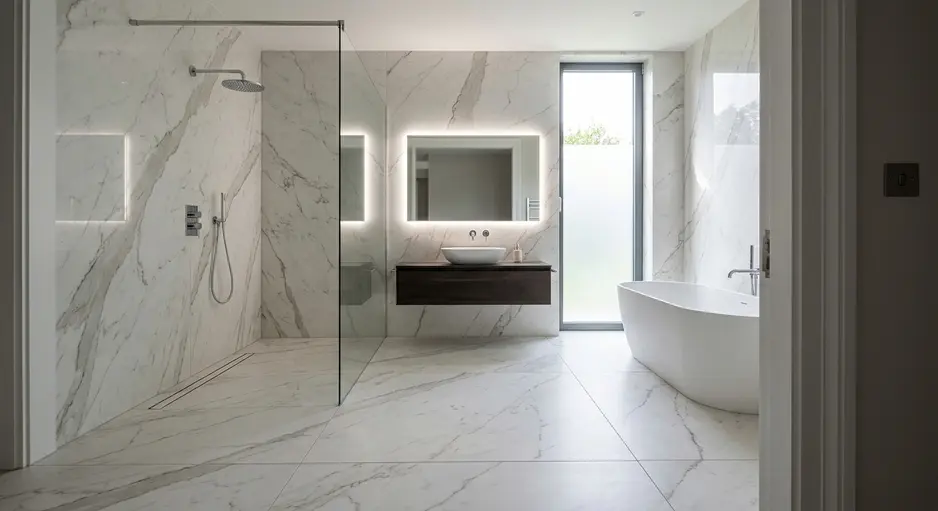
Formats such as 750 × 1500 mm and 1200 × 1200 mm often suit residential rooms. The best choice depends on room proportions, doors and furniture zones. A poorly planned layout can leave narrow cuts around the perimeter.
In open-plan rooms, align joints with key features such as kitchen units, door openings or long sight lines. This improves the overall finish and helps reduce awkward cuts.
Commercial floors must account for foot traffic, rolling loads, point loads and maintenance routines. Surface texture and slip resistance ratings are especially important in entrances, wet zones and public areas.
Plan access for future replacement and retain spare slabs from the same batch. The specification should meet local safety, accessibility and installation rules.
Large panels need a flat, stable base. Existing cracks, movement and deflection should be assessed before installation. The complete floor assembly must have adequate floor load-bearing capacity for its intended use.
Where heavy shelving, equipment or unusual loads are present, consult the architect, installer or structural professional. Do not rely on slab thickness alone.
Some 6 mm products are approved for flooring, while others are intended only for walls or furniture. Suitability depends on the manufacturer’s floor-use rating, reinforcement, substrate and installation system. Busy or demanding spaces may need a thicker, specifically floor-rated product.
These ranges are indicative. Product approval and the complete installation system are more important than thickness by itself.
Indicative weights are about 14–16 kg/m² for 6 mm, 21–23 kg/m² for 9 mm and 28–30 kg/m² for 12 mm. A 20 mm panel may weigh about 46–50 kg/m². Mesh backing and reinforcement can change the final slab weight per square metre.
Use the current product data sheet for transport, lifting and structural calculations.
Polished finishes can enhance wall cladding and low-slip-risk interiors. Matt or textured surfaces are often more practical for floors. Wet rooms and commercial spaces may need a tested slip rating.
Rating systems vary by region. Verify the current certificate rather than assuming that every matt finish is suitable for wet flooring.
Inspect doorways, stairs, lifts and turning areas before delivery. Approved A-frames, suction cups, transport racks and lifting frames help keep panels supported. Trained crews should use suitable large slab handling equipment rather than treating the panel like a standard tile.
Surfaces should be clean, cured, stable and sufficiently flat. Correct dips and high points before installation instead of trying to level the panel with adhesive. Wet areas also need a compatible waterproofing system.
Use primers, adhesives and application methods approved for the specific slab and substrate. Guidance such as ISO 13006, EN 14411, ANSI A137.3, ANSI A108.19 and relevant TCNA documents can inform the specification, but the product manual and local rules still apply.
Thin panels may be cut with an approved rail-guided scoring system. Thicker products often need a water-cooled bridge saw, CNC machine or porcelain-rated diamond tools.
Internal cut-out corners may need drilling or relief to reduce stress. Complete complex cut-outs before final positioning where practical.
The grout joint width should follow the manufacturer’s instructions and applicable standards. Rectified edges may allow narrow joints, but a joint-free installation is generally not advised.
Preserve existing structural joints and include suitable perimeter and field joints. Correct expansion joint placement helps the surface cope with movement. Never hide these joints simply to improve visual continuity.
Edges may be eased, polished, mitred or factory finished. Dry-lay marble-look panels before installation to check vein flow. Photograph and number the pieces so installers can maintain the approved sequence.
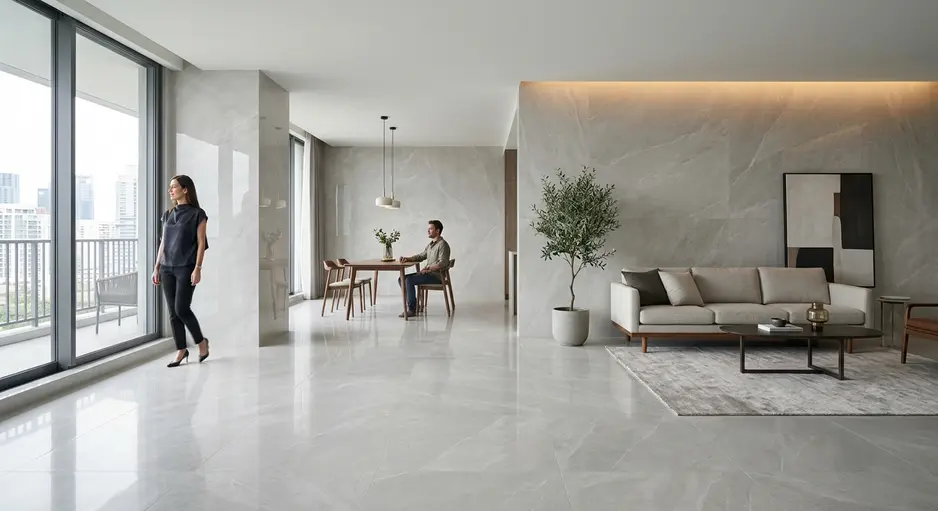
Prepare a panel-by-panel layout rather than ordering from area alone. Include allowances for cuts, breakage and future repairs. Complex vein matching, mitred corners and bookmatching may increase waste.
Plan offcuts at the same time. Suitable pieces may be reused for niches, skirting, shelves or smaller wall sections.
When comparing a large porcelain slab supplier for wall and floor projects, review available dimensions, finishes, technical documents, packaging and project support. Buyers can explore Ibis Smart Marble and request current product sizes, samples and quotation details before final specification.
Buy Best Large Format Porcelain Slabs
The best large format porcelain slab sizes balance appearance with access, handling and technical performance. Review the room dimensions, slab thickness, finish, slip rating, substrate and installer capability before ordering.
Explore large porcelain slabs for walls and large porcelain slabs for floors from Ibis Smart Marble, or contact the team to request current dimensions, finish options and project-specific information. Final installation should always follow the selected product manual, applicable standards and local building requirements.
There is no universal maximum. Formats around 1600 × 3200 mm are commonly marketed, but sizes differ by manufacturer, collection and region. Always check actual dimensions, stock status and transport limits.
The choice depends on wall height, access, cut-outs and joint placement. A 1200 × 2400 mm panel can be practical for full-height walls, subject to actual size and trimming needs.
Yes, if the product is floor-rated. The structure, substrate, adhesive, movement joints and installation method must also meet the product instructions and relevant local standards.
Yes. Rectified panels may allow narrow joints, but joint-free installation is not normally recommended. The correct width depends on the product, substrate, environment and applicable installation guidance.
They require more planning than standard tiles. Handling frames, suction cups, suitable cutting tools, careful surface preparation and an experienced team help reduce breakage and fitting problems.

Whatsapp Chatx
Hi! Click one of our representatives below to chat on WhatsApp or send us email to info@ibissmartmarble.com

|
Contact Us +91 95812 95812 |